

Mastering the Art of Flawless Eyebrows (In Just Two Minutes)
Hey readers!
This is your friendly neighborhood hairstylist, Dania, and again with a subject which is quite close to all of us ladies 😉. If there’s one thing I always tell my clients, it’s this: your eyebrows are the quiet architects of your face. Get them right, and everything else just falls into place🥰.
Therefore, I have created this tutorial on creating spectacular eyebrows, and both of them in just under two minutes - isn’t it a surprise reward you have been searching for all this time?
I’m walking you through exactly how I shape, define, and finish brows so they look polished—but never overdone. This is the same approach I use every day in the salon, and it works beautifully whether you’re a beginner or want to refine your technique.
Although I have described the technique more in-depth in the deep abyss of this article, for those who love to see how I do a quick eyebrow polishing visually, here is the video at your service 😉:
Interested in noting down the specifics of my eyebrow-styling (two-minute) technique? Keep on reading 🙂!
1: I Always Start with a Clean, Honest Base
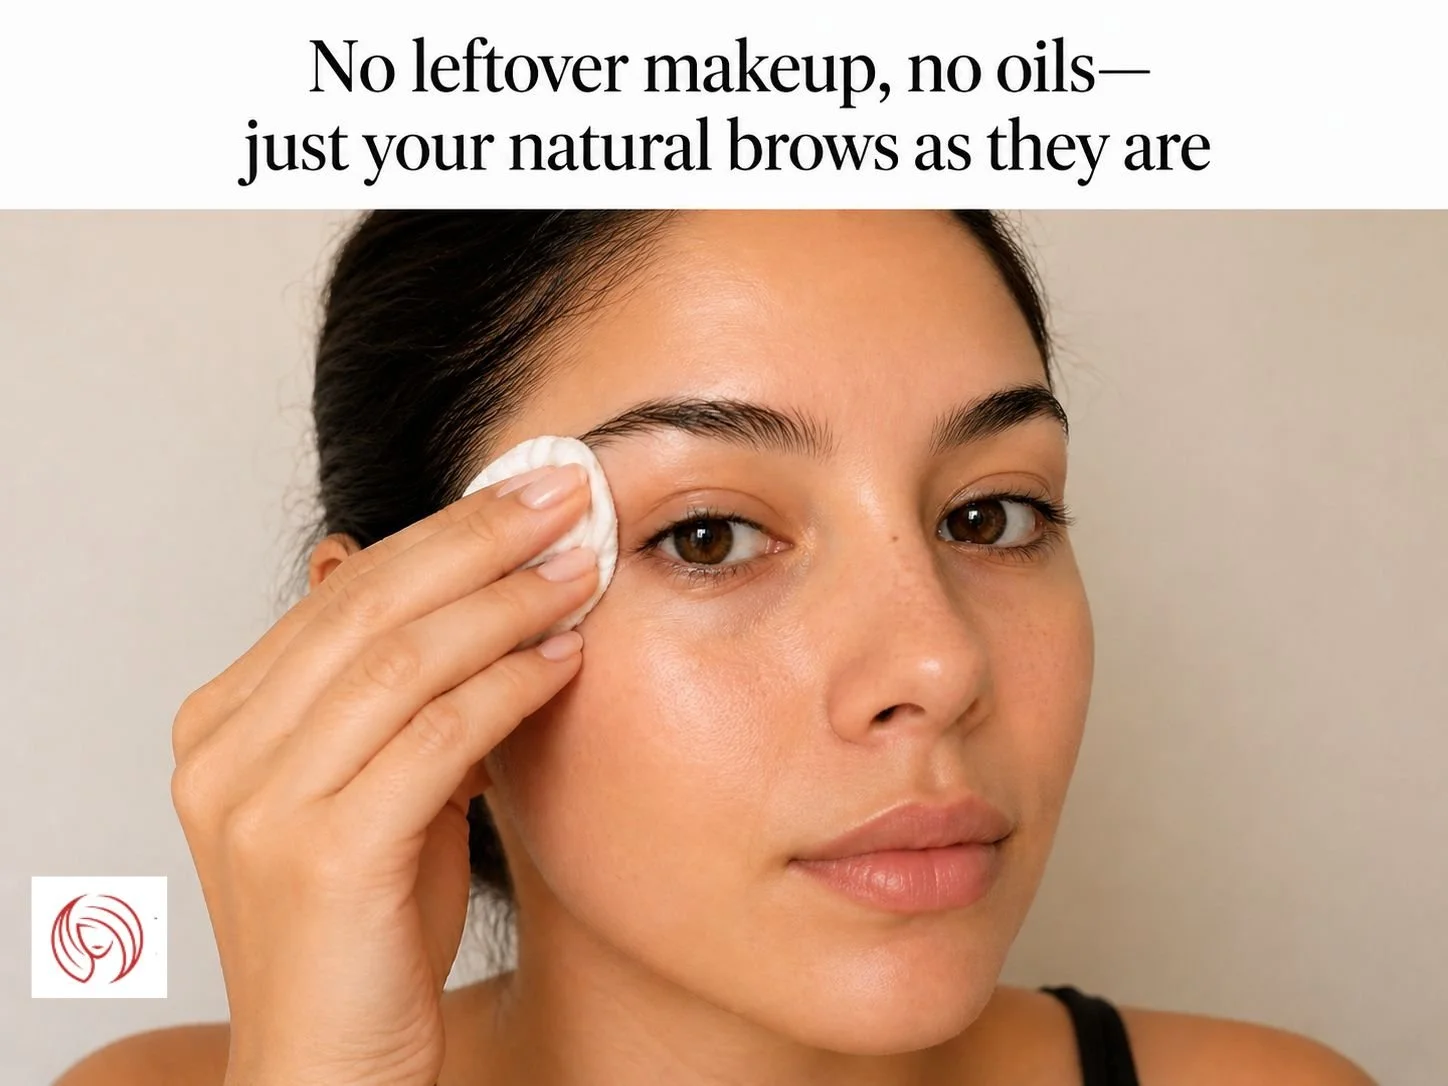
Before I touch any product, I make sure the brows are completely clean. No leftover makeup, no oils—just your natural brows as they are.
Then I take a spoolie and gently brush the hairs upward. I used an NYX professional eyebrow pencil, which, of course, I recommend to all of my clients. However, if you are convenient with some other product, that wouldn’t hurt as well 🙂
This step might seem simple, but it tells me everything I need to know—where the gaps are, which hairs are longer than they should be, and how your natural shape wants to sit.
As most of you are aware, my styling philosophy is that I never believe in forcing a shape. I believe in working with what you already have.
2: Mapping the Brow—My Guiding Framework

Next, I lightly map the brows using the pencil. This is where precision meets artistry.
I mark three key points here:
Where your brow should begin (aligned with the side of your nose)
Where the arch naturally peaks (through the center of your eye)
Where the brow should end (toward the outer corner)
Now here’s something I always remind my clients: your brows are sisters, not twins. The goal should not be perfection—it should be a balancing act.
These markings are soft and subtle. They’re not meant to box the brow in; they are just to guide the shaping process.
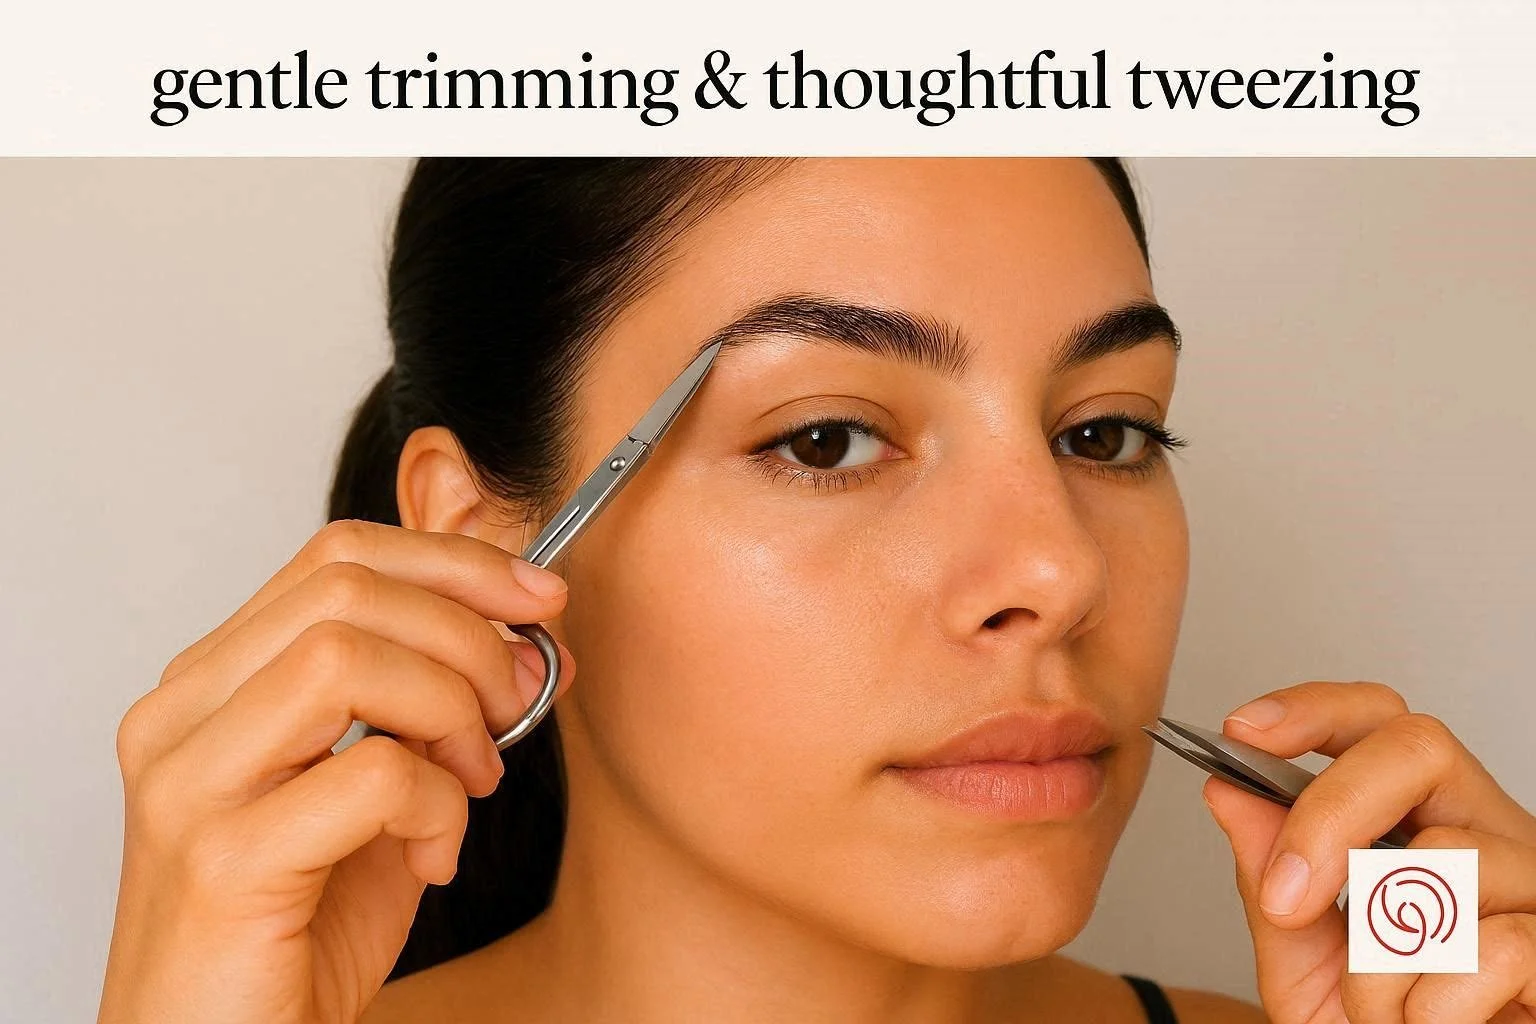
3: Gentle Trimming & Thoughtful Tweezing
Now it’s time to clean up.
I trim only the hairs that extend beyond the natural line—very carefully, and never too much. Over-trimming is one of the most common mistakes I see, and it’s so easy to avoid with a light hand.
Then I tweeze any stray hairs that fall outside the mapped shape. Nothing aggressive, nothing excessive—just enough to refine the brow and give it a clean structure 😎.
My rule is simple: if unsure about a hair, leave it as is.
4: Filling the Brows—Soft, Natural Definition
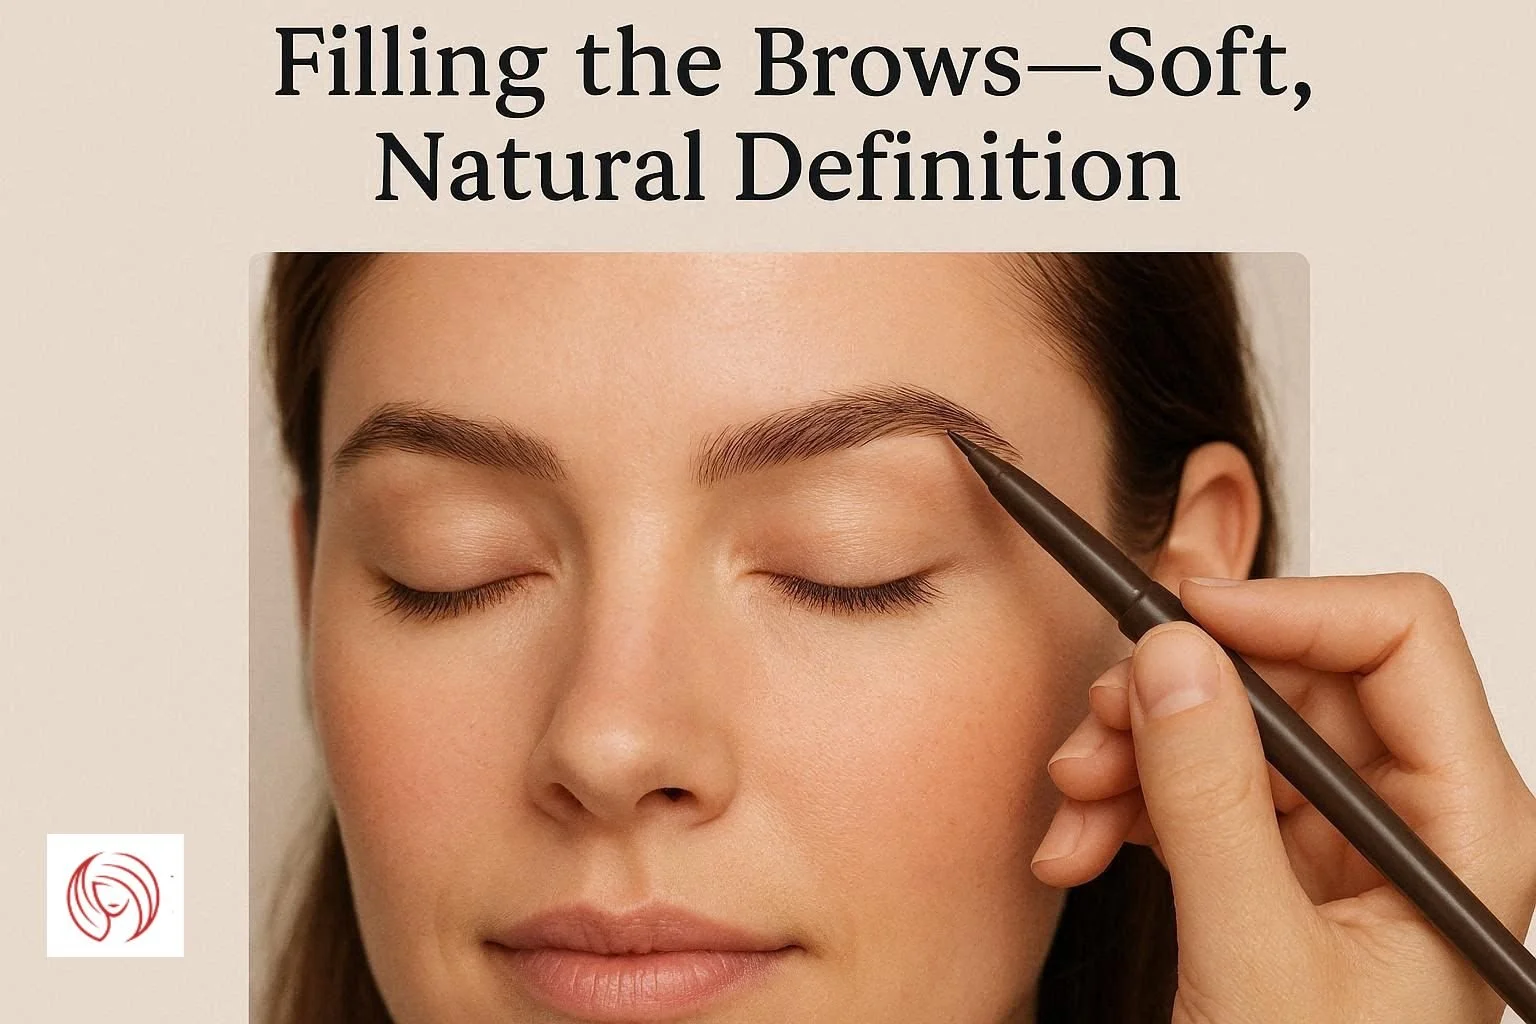
Now comes the part most people are excited about—filling.
I use a brow pencil or powder and apply it with light, hair-like strokes. My preference is for the natural direction of growth. For example:
Upward strokes at the front
Slightly angled strokes through the arch
More horizontal strokes toward the tail
I keep the front of the brow softer and lighter, gradually building depth toward the arch and tail. This creates a natural gradient that looks effortless—not harsh or blocky.
And just likewise, at our hair salon, we focus on enhancing—not overpowering 🙂.
5: Blending—The Step You Should Never Skip
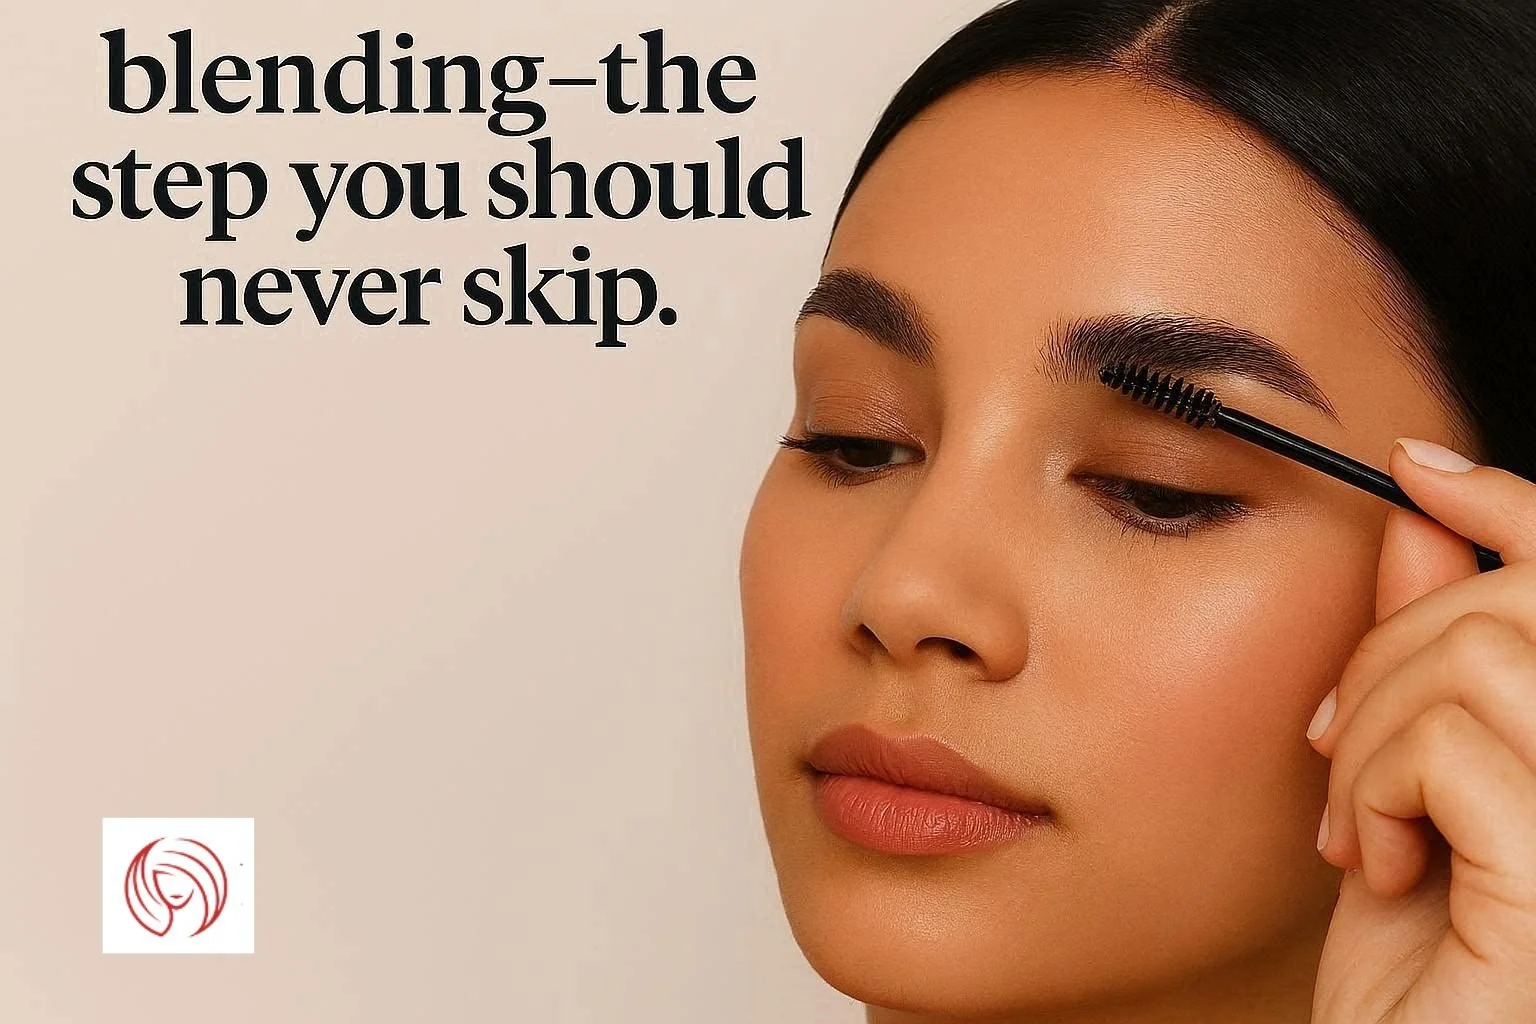
Once the core is in place, I go back in with my spoolie and blend everything gently.
This step softens any sharp lines and ensures the brows look seamless. It’s what transforms your brows from “filled in” to “naturally full,” should you get my point 😉
If you ever feel like your brows look too heavy, remember that blending is usually the fix.
6: Defining the Shape for a Polished Finish
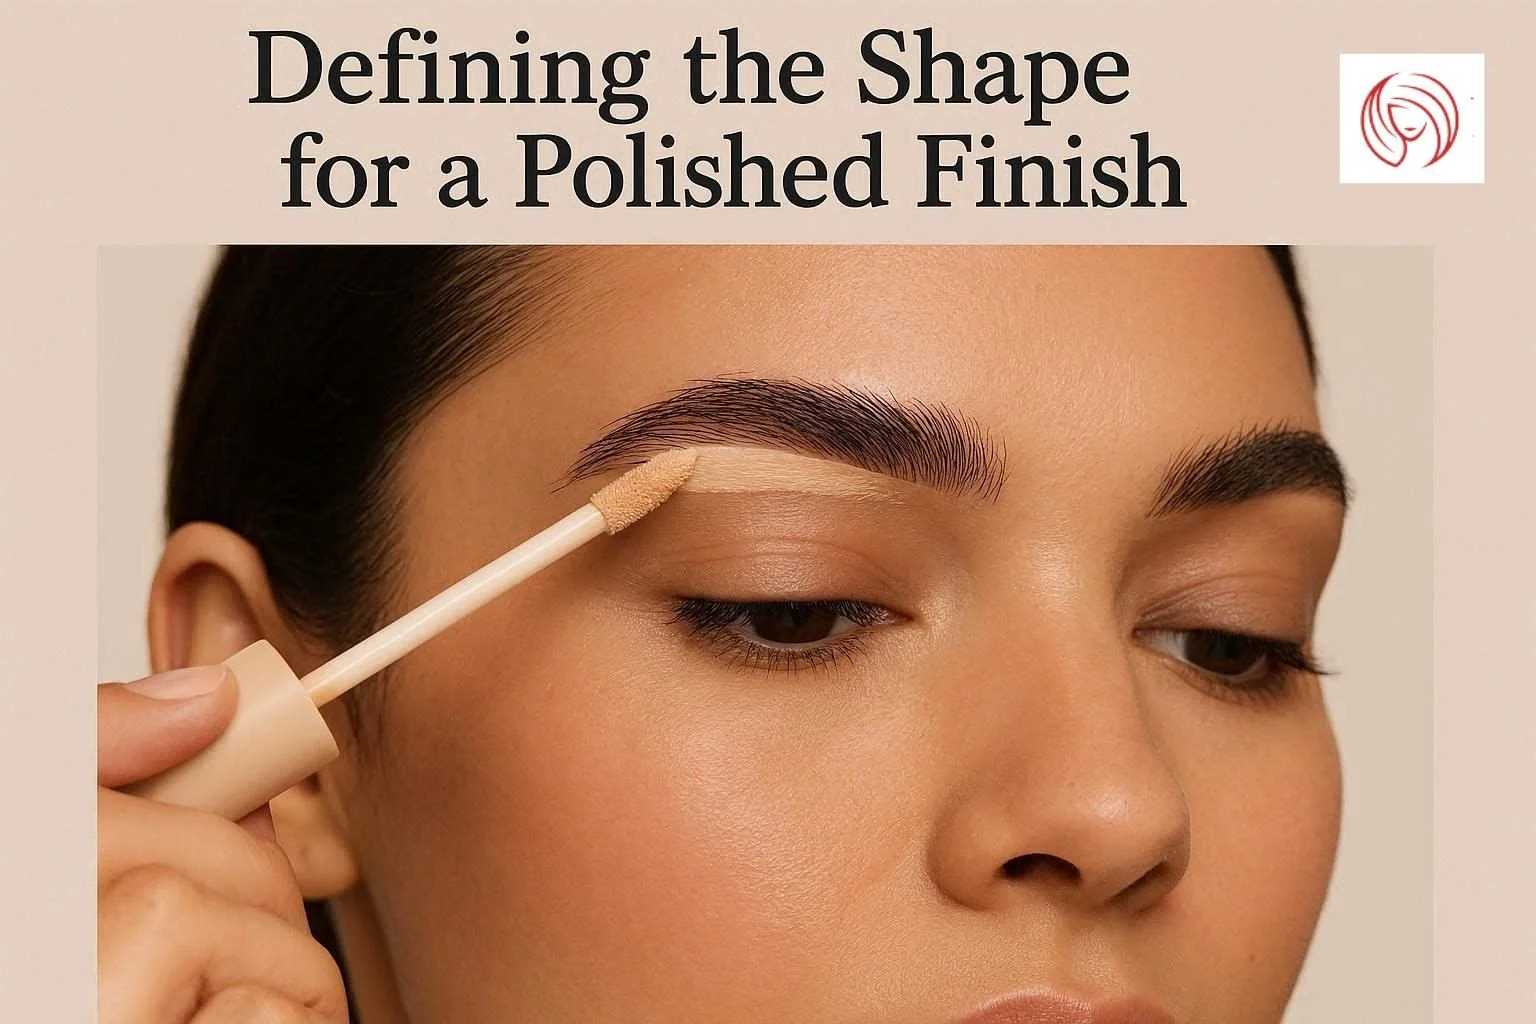
To elevate the look, I apply a small amount of concealer just beneath the brow line.
Using the brush, I clean up the edges to make the shape more defined. It’s a subtle detail, but it makes a noticeable difference by bringing clarity and sharpness without making the brows look artificial.
7: Setting the Brows in Place
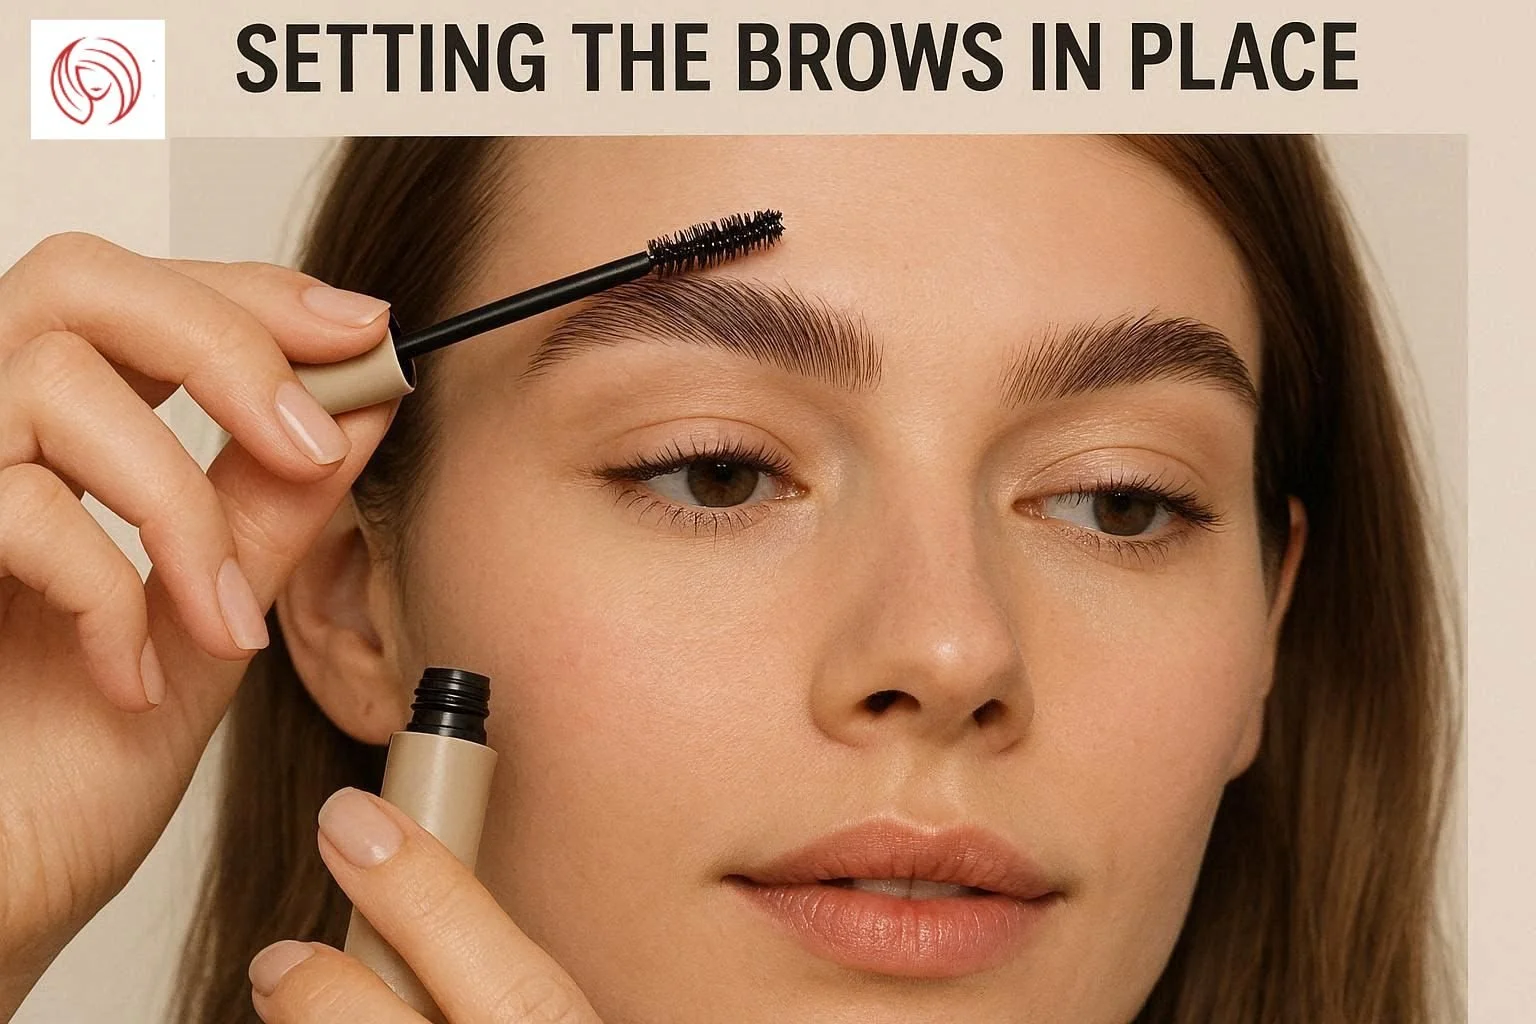
Finally, I use a brow gel to set everything.
I brush the hairs upward and outward to create a soft, lifted effect. Depending on the look, I’ll use a clear gel for a natural finish or a tinted one for a bit more fullness.
The goal is always the same: brows that stay in place but still look soft and touchable😊.
8: Reward at The End: Perfect Eyebrows
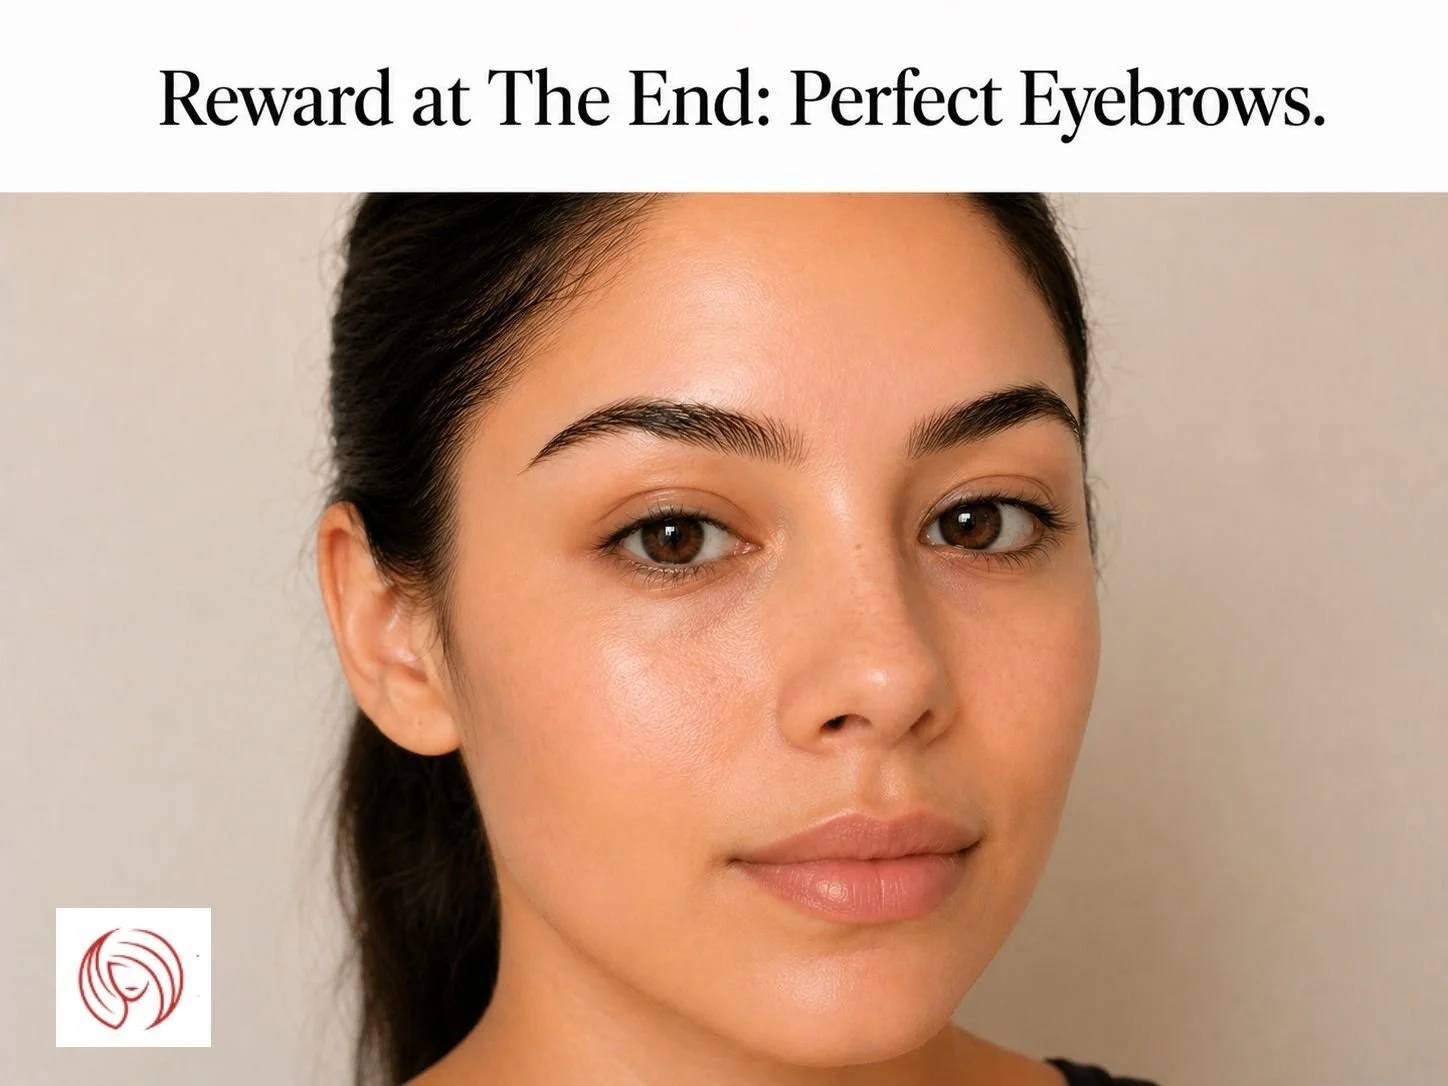
After going through all this effort, the end reward is just the correct one: The brows don’t look artificial, they look right!
And believe me, that is the best result. Why?
Because your eyebrows then frame your face beautifully, enhance your natural features, and feel effortless. And while this may seem long and arduous, trust me, it's all done in just two minutes 🤗.
Have any doubts? Watch my eyebrow tutorial video I posted above 🙂.
My Personal Advice to All
If I have to summerise some key points for your eyebrow styling, let it be these:
Work with your natural shape, not against it
Build slowly—you can always add more
Blend more than you think you need to
And most importantly, don’t chase perfection—chase balance
Beautiful brows aren’t about being identical. They’re about harmony.
If, after this tutorial, you still feel overwhelmed and need a professional touch, you know where to find us 😊
At Westport Hair & Co., we’re always here to help you look like the best version of yourself. Peace out from your friendly stylist, Dania Morejon - good day! 😇